
LibreNMS is an open-source network monitoring tool that can monitor a wide range of network devices, such as Cisco, Juniper, Brocade, HP, FortiGate, and also different operating systems, such as Linux, Windows, and pretty much anything that supports SNMP polling.
The top features of the LibreNMS monitoring tool:
- Automatic Discovery – It will automatically discover your entire network using CDP, FDP, LLDP, OSPF, BGP, SNMP, and ARP.
- Customizable Alerting – Supports a customizable alerting system to send notifications through email, IRC, slack, and more.
- Customizable Dashboards – It has a mobile-friendly Web UI, with customizable dashboards.
- Integration Support – Supports integration with NfSen, collected, SmokePing, RANCID, and Oxidized.
- Multiple Authentication Methods – Supports multiple authentication methods such as MySQL, HTTP, LDAP, Radius, and Active Directory.
- Billing system – Easily generate bandwidth bills for ports on your network based on usage or transfer.
- API Access – Supports an API for managing, graphing, and retrieving data from your system.
- Automatic Updates – With LibreNMS you get to stay up to date automatically with new features and bug fixes.
For more details related to features and supported vendors, please visit: https://docs.librenms.org/Support/Features/
This post will explain to you the steps to install and configure LibreNMS with Nginx web server on a CentOS 8 server. Also, throughout this tutorial, I assume you are the root user to issue the commands.
Step 1 – Installing Required Packages & Prerequisites
Disabling SELinux
Edit /etc/selinux/config file and change SELINUX=enforcing parameter to SELINUX=disabled like below & reboot the server to affect the changes:
vim /etc/selinux/config

SELINUX=disabled

reboot
Installing EPEL Repository & Required Dependencies
yum -y update
yum -y install epel-release
yum module reset php
yum module enable php:7.3
yum -y install bash-completion git cronie fping ImageMagick mtr net-snmp net-snmp-utils nmap rrdtool unzip tar wget python3 python3-PyMySQL python3-redis python3-memcached python3-pip
Install Nginx, MariaDB, and PHP
yum -y install nginx
yum -y install mariadb mariadb-server
yum -y install php-fpm php-cli php-common php-curl php-gd php-json php-mbstring php-process php-snmp php-xml php-zip php-mysqlnd
Add Librenms user
useradd librenms -d /opt/librenms -M -r -s "$(which bash)"
Download LibreNMS & Set Permissions
cd /opt
git clone https://github.com/librenms/librenms.git

chown -R librenms:librenms /opt/librenms
chmod 771 /opt/librenms
setfacl -d -m g::rwx /opt/librenms/rrd /opt/librenms/logs /opt/librenms/bootstrap/cache/ /opt/librenms/storage/
setfacl -R -m g::rwx /opt/librenms/rrd /opt/librenms/logs /opt/librenms/bootstrap/cache/ /opt/librenms/storage/
Install PHP Dependencies
su - librenms
./scripts/composer_wrapper.php install --no-dev
exit
Step 2 – Configure the Installed Packages
Configure the PHP TimeZone
Ensure the date.timezone is set in php.ini file to your time zone. Get the list of supported timezones in this link https://www.php.net/manual/en/timezones.php
vim /etc/php.ini
date.timezone = "Asia/Colombo"

#Also set the system time zone as the same.
timedatectl set-timezone Asia/Colombo
Configure MariaDB Database
Librenms uses the MySQL database to store all the data. In this post, I will use the MariaDB version.
Edit the mariadb0server.cnf file located under /etc/my.cnf.d/ and add the following in section [mysqld].
vi /etc/my.cnf.d/mariadb-server.cnf

[mysqld]
innodb_file_per_table=1
lower_case_table_names=0

#Enable and restart the service
systemctl enable mariadb
systemctl restart mariadb
By default, MariaDB initial installation is not sure and anyone can get into your database. To secure it, run the following commands and follow the instructions to complete it.
mysql_secure_installation

NOTE: RUNNING ALL PARTS OF THIS SCRIPT IS RECOMMENDED FOR ALL MariaDB
      SERVERS IN PRODUCTION USE!  PLEASE READ EACH STEP CAREFULLY!

In order to log into MariaDB to secure it, we'll need the current
password for the root user.  If you've just installed MariaDB, and
you haven't set the root password yet, the password will be blank,
so you should just press enter here.

Enter current password for root (enter for none):
OK, successfully used password, moving on...

Setting the root password ensures that nobody can log into the MariaDB
root user without the proper authorisation.

Set root password? [Y/n] Y
New password:
Re-enter new password:
Password updated successfully!
Reloading privilege tables..
 ... Success!

By default, a MariaDB installation has an anonymous user, allowing anyone
to log into MariaDB without having to have a user account created for
them.  This is intended only for testing, and to make the installation
go a bit smoother.  You should remove them before moving into a
production environment.

Remove anonymous users? [Y/n] Y
 ... Success!

Normally, root should only be allowed to connect from 'localhost'.  This
ensures that someone cannot guess at the root password from the network.

Disallow root login remotely? [Y/n] Y
 ... Success!

By default, MariaDB comes with a database named 'test' that anyone can
access.  This is also intended only for testing, and should be removed
before moving into a production environment.

Remove test database and access to it? [Y/n] Y
 - Dropping test database...
 ... Success!
 - Removing privileges on test database...
 ... Success!

Reloading the privilege tables will ensure that all changes made so far
will take effect immediately.

Reload privilege tables now? [Y/n] Y
 ... Success!

Cleaning up...

All done!  If you've completed all of the above steps, your MariaDB
installation should now be secure.

Thanks for using MariaDB!
Now we need to create a database and a user for librenms like below
mysql -u root -p

mysql> CREATE DATABASE librenms CHARACTER SET utf8 COLLATE utf8_unicode_ci;
mysql> CREATE USER 'librenms'@'localhost' IDENTIFIED BY 'password';
mysql> GRANT ALL PRIVILEGES ON librenms.* TO 'librenms'@'localhost';
mysql> FLUSH PRIVILEGES;
mysql> exit
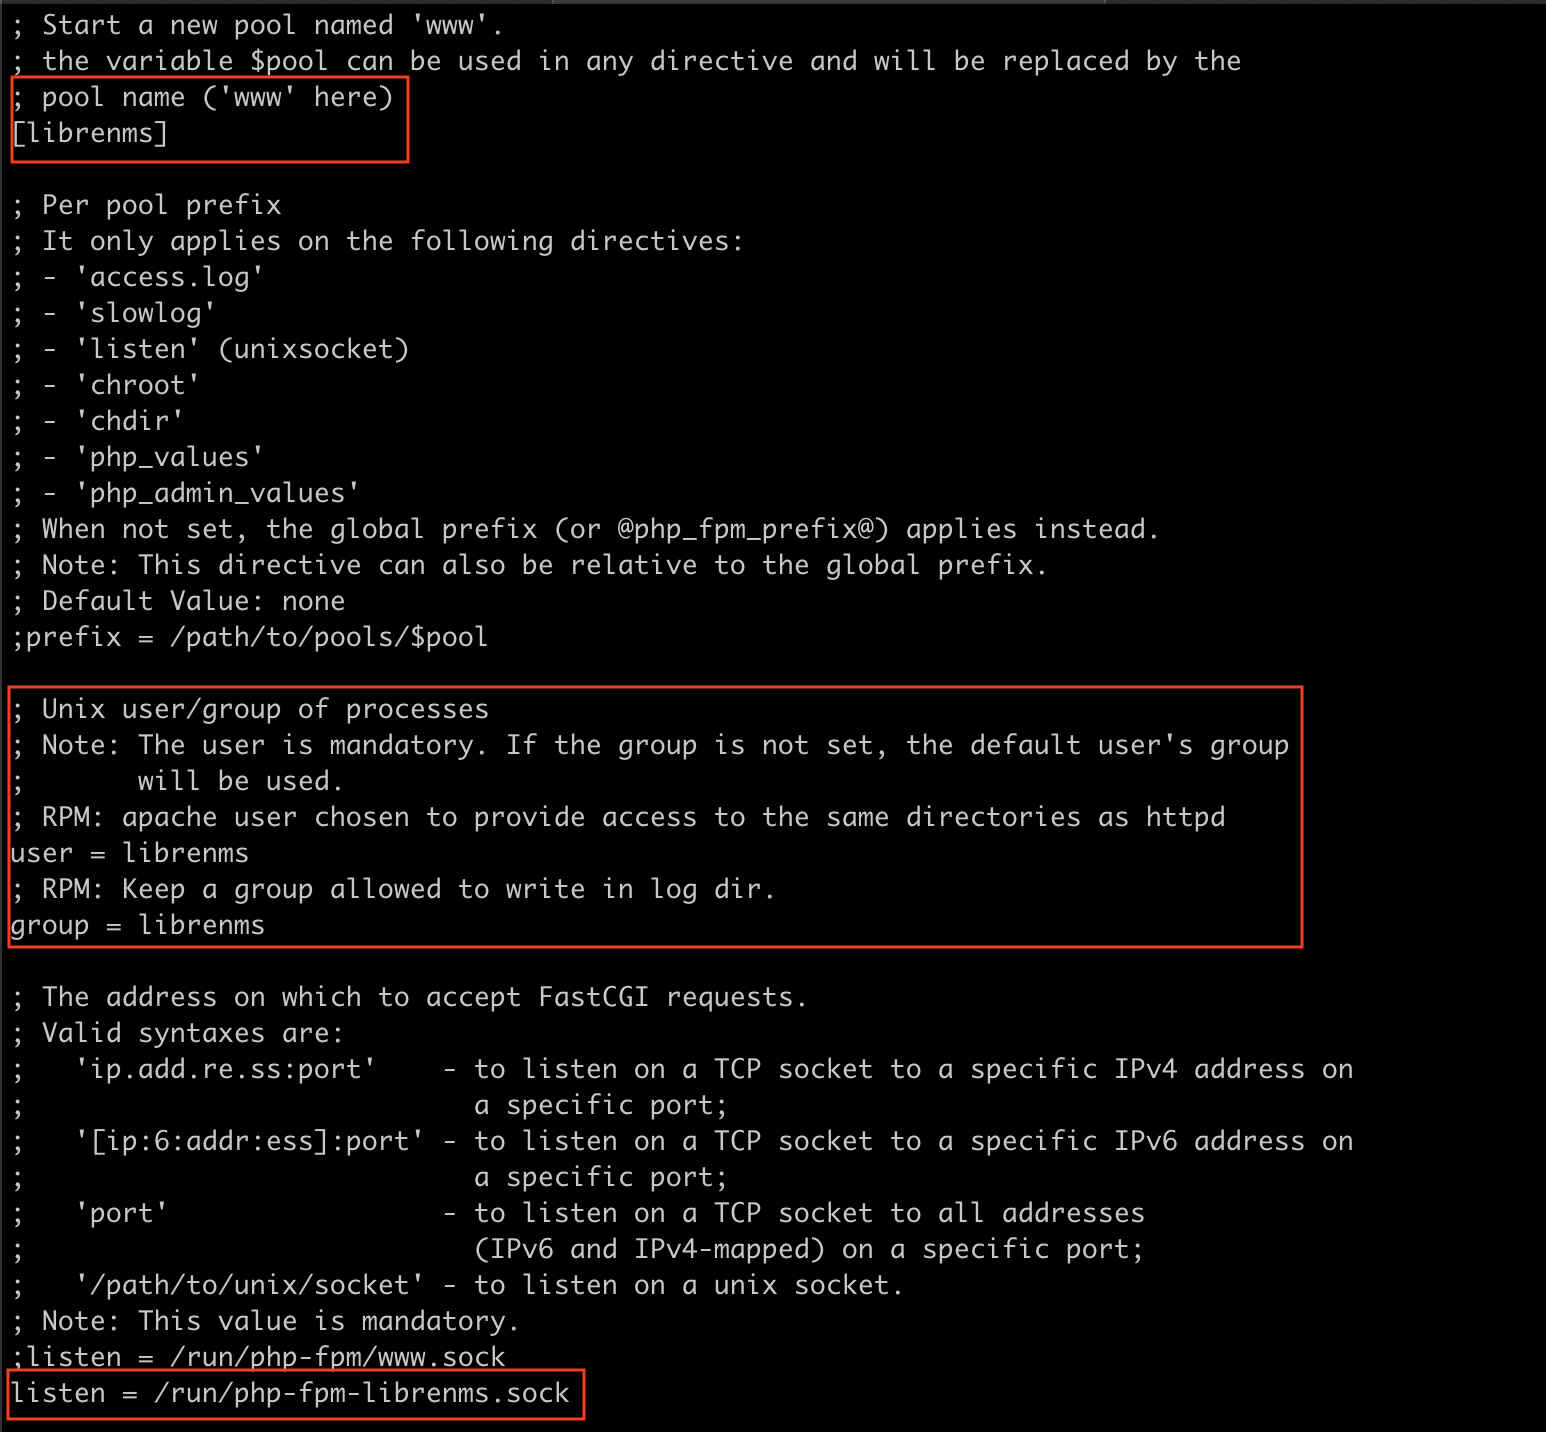
Configure PHP-FPM
For PHP-FPM to work with Nginx, we need to make changes to the config file
cp /etc/php-fpm.d/www.conf /etc/php-fpm.d/librenms.conf
vi /etc/php-fpm.d/librenms.conf

# Change "www" to "librenms"
[librenms]

# Change user and group to "librenms"
user = librenms
group = librenms

# Change listen to a unique name
listen = /run/php-fpm-librenms.sock
Configure Nginx Web Server
LibreNMS is a web-based application and here we are using an Nginx web server to host it.
I will create a new virtual host file librenms.conf in the Nginx conf.d directory by running the following:
Also, see https://sysopstechnix.com/nginx-best-practices-on-initial-setup/ for more details.
vi /etc/nginx/conf.d/librenms.conf

server {
    listen      80;
    server_name librenms.example.com;
    root        /opt/librenms/html;
    index       index.php;

    charset utf-8;
    gzip on;
    gzip_types text/css application/javascript text/javascript application/x-javascript image/svg+xml text/plain text/xsd text/xsl text/xml image/x-icon;

    location / {
        try_files $uri $uri/ /index.php?$query_string;
    }
    location ~ [^/]\.php(/|$) {
        fastcgi_pass unix:/run/php-fpm-librenms.sock;
        fastcgi_split_path_info ^(.+\.php)(/.+)$;
        include fastcgi.conf;
    }
    location ~ /\.(?!well-known).* {
        deny all;
    }
}
systemctl enable --now nginx
systemctl enable --now php-fpm
Allow fping
Create the file http_fping.tt with the following contents. You can create this file anywhere, as it is a throw-away file. The last step in this install procedure will install the module in the proper location.
vim /tmp/http_fping.tt

module http_fping 1.0;

require {
type httpd_t;
class capability net_raw;
class rawip_socket { getopt create setopt write read };
}

#============= httpd_t ==============
allow httpd_t self:capability net_raw;
allow httpd_t self:rawip_socket { getopt create setopt write read };
#Then run these commands
cd /tmp
checkmodule -M -m -o http_fping.mod http_fping.tt
semodule_package -o http_fping.pp -m http_fping.mod
semodule -i http_fping.pp
Allow Access through Firewall (if required)
We can either disable the firewalld or else allow access through the firewalld by using the following commands.
firewall-cmd --zone public --add-service http
firewall-cmd --permanent --zone public --add-service http
firewall-cmd --zone public --add-service https
firewall-cmd --permanent --zone public --add-service https
Enable lnms command completion (optional)
This feature grants you the opportunity to use the tab for completion on lnms commands as you would for normal linux commands.
ln -s /opt/librenms/lnms /usr/local/bin/lnms
cp /opt/librenms/misc/lnms-completion.bash /etc/bash_completion.d/
Configure snmpd (optional)
Copy the sample config file to snmpd installed location (/etc/snmp/) and replace RANDOMSTRINGGOESHERE and to your own community string.
vi /etc/snmp/snmpd.conf

rocommunity RANDOMSTRINGGOESHERE 127.0.0.1

#Enable and restart the service
systemctl enable snmpd
systemctl restart snmpd
Add a Cron job
cp /opt/librenms/librenms.nonroot.cron /etc/cron.d/librenms
Copy logrotate config
LibreNMS keeps logs in /opt/librenms/logs. Over time these can become large and be rotated out. To rotate out the old logs you can use the provided logrotate config file:
cp /opt/librenms/misc/librenms.logrotate /etc/logrotate.d/librenms
Step 3 – Start the Web Installer
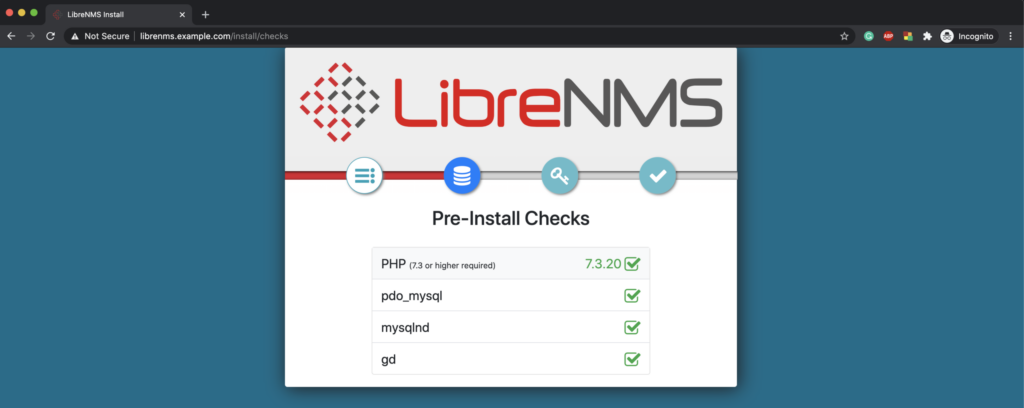
Now go to the web browser and type the http://librenms.example.com/install URL and it will start the Web Installer. Then follow the screenshots mentioned below.
If all checks are passed, click the database icon.
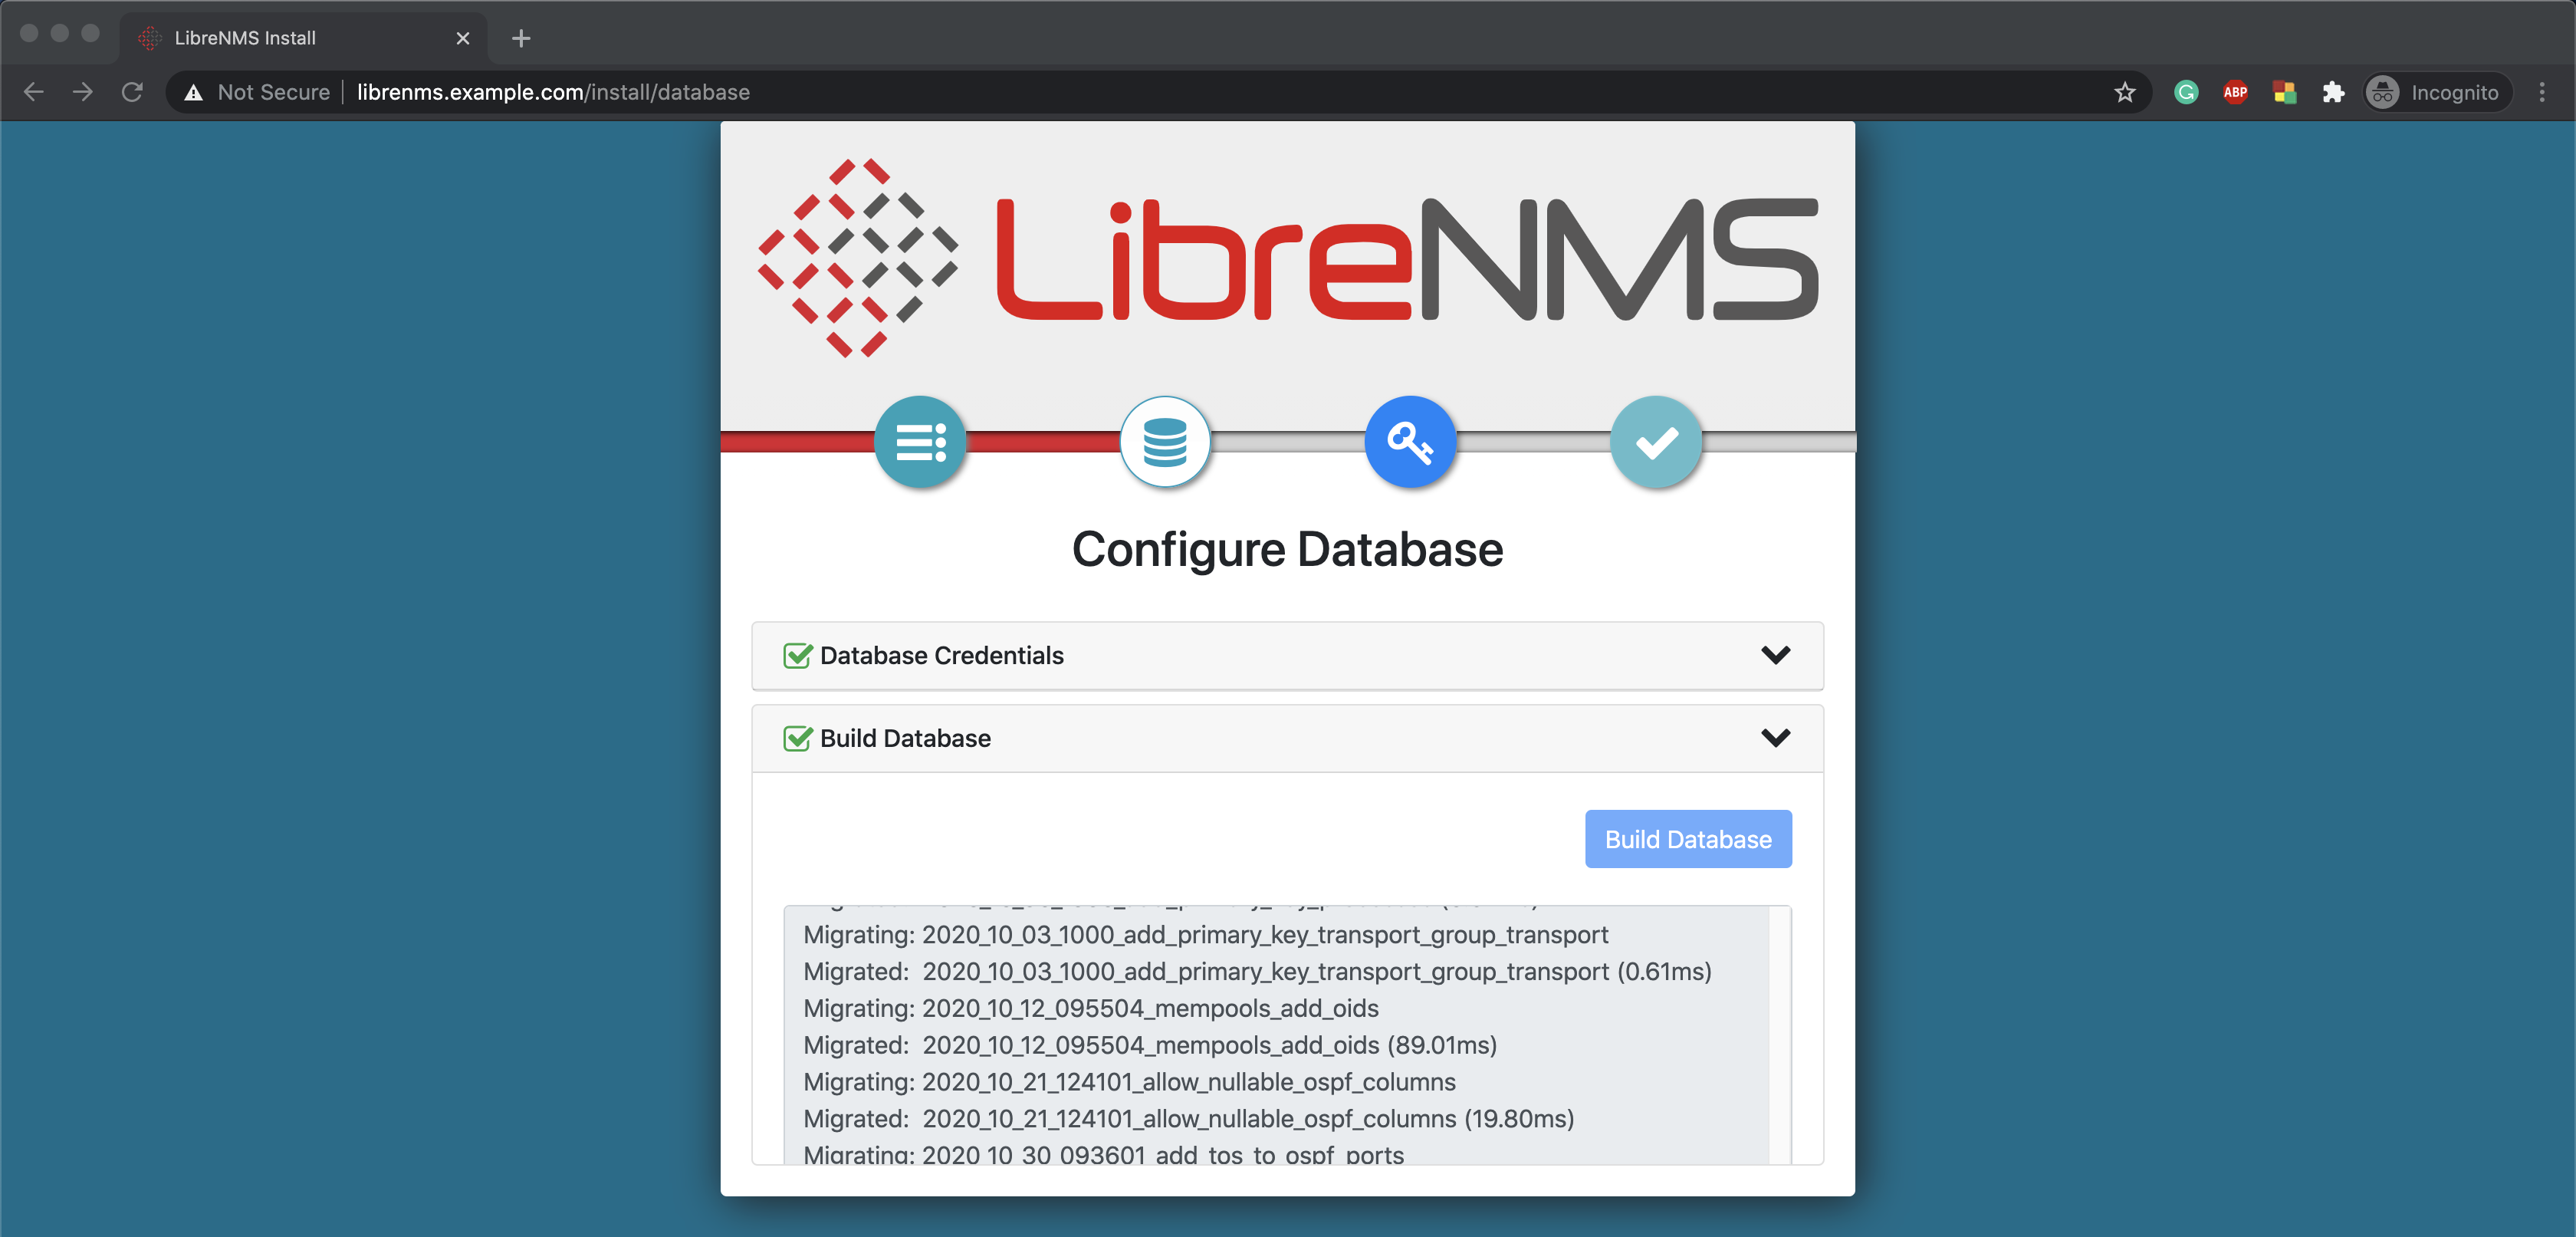
Provide the Database name and credentials.

Click Build Database to start the database installation.
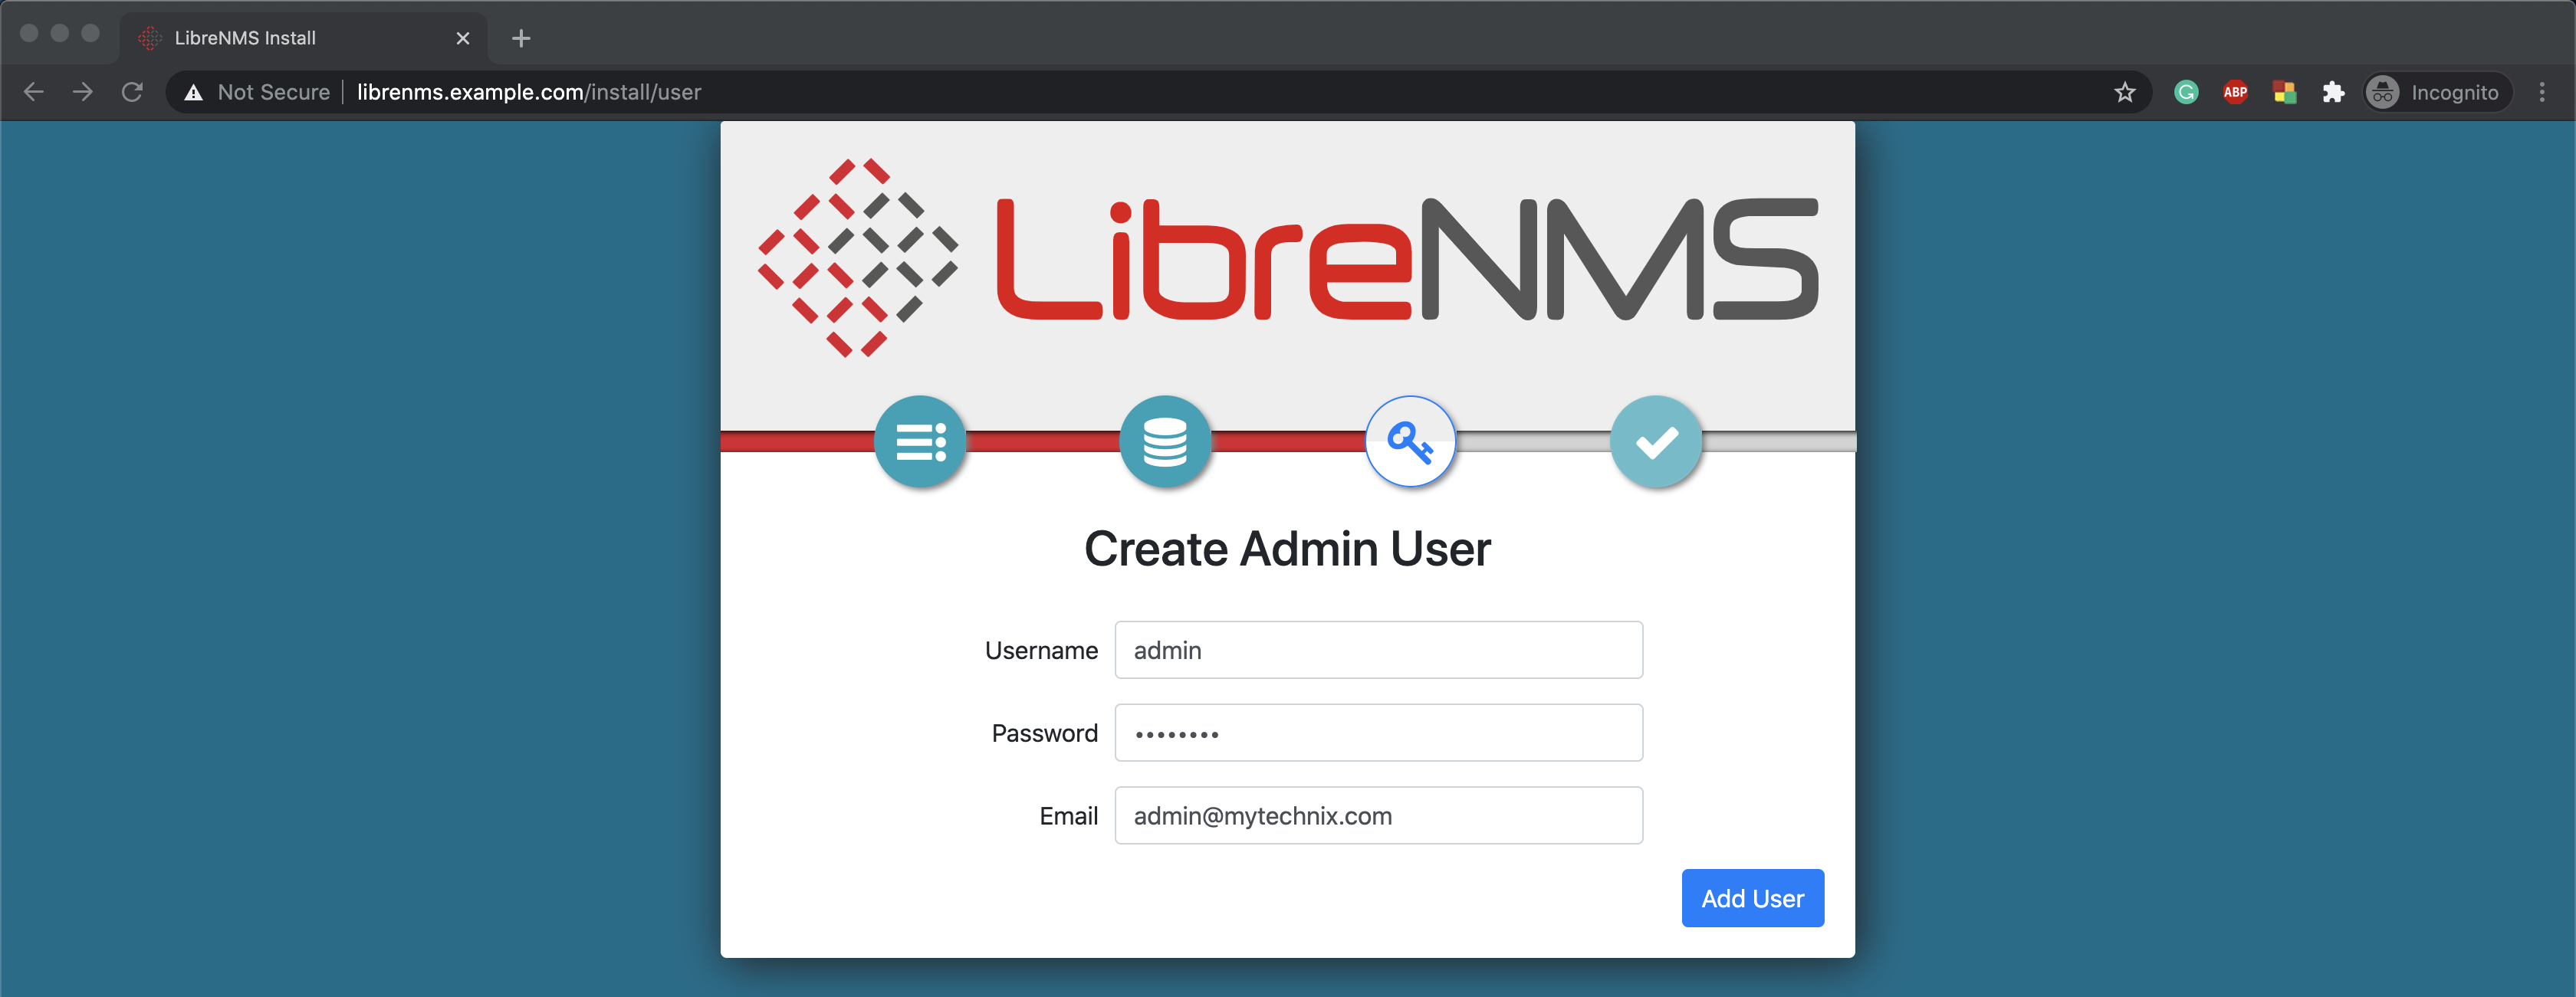
Create an admin account for login.
Once all the above steps are done, you will get the following screen.
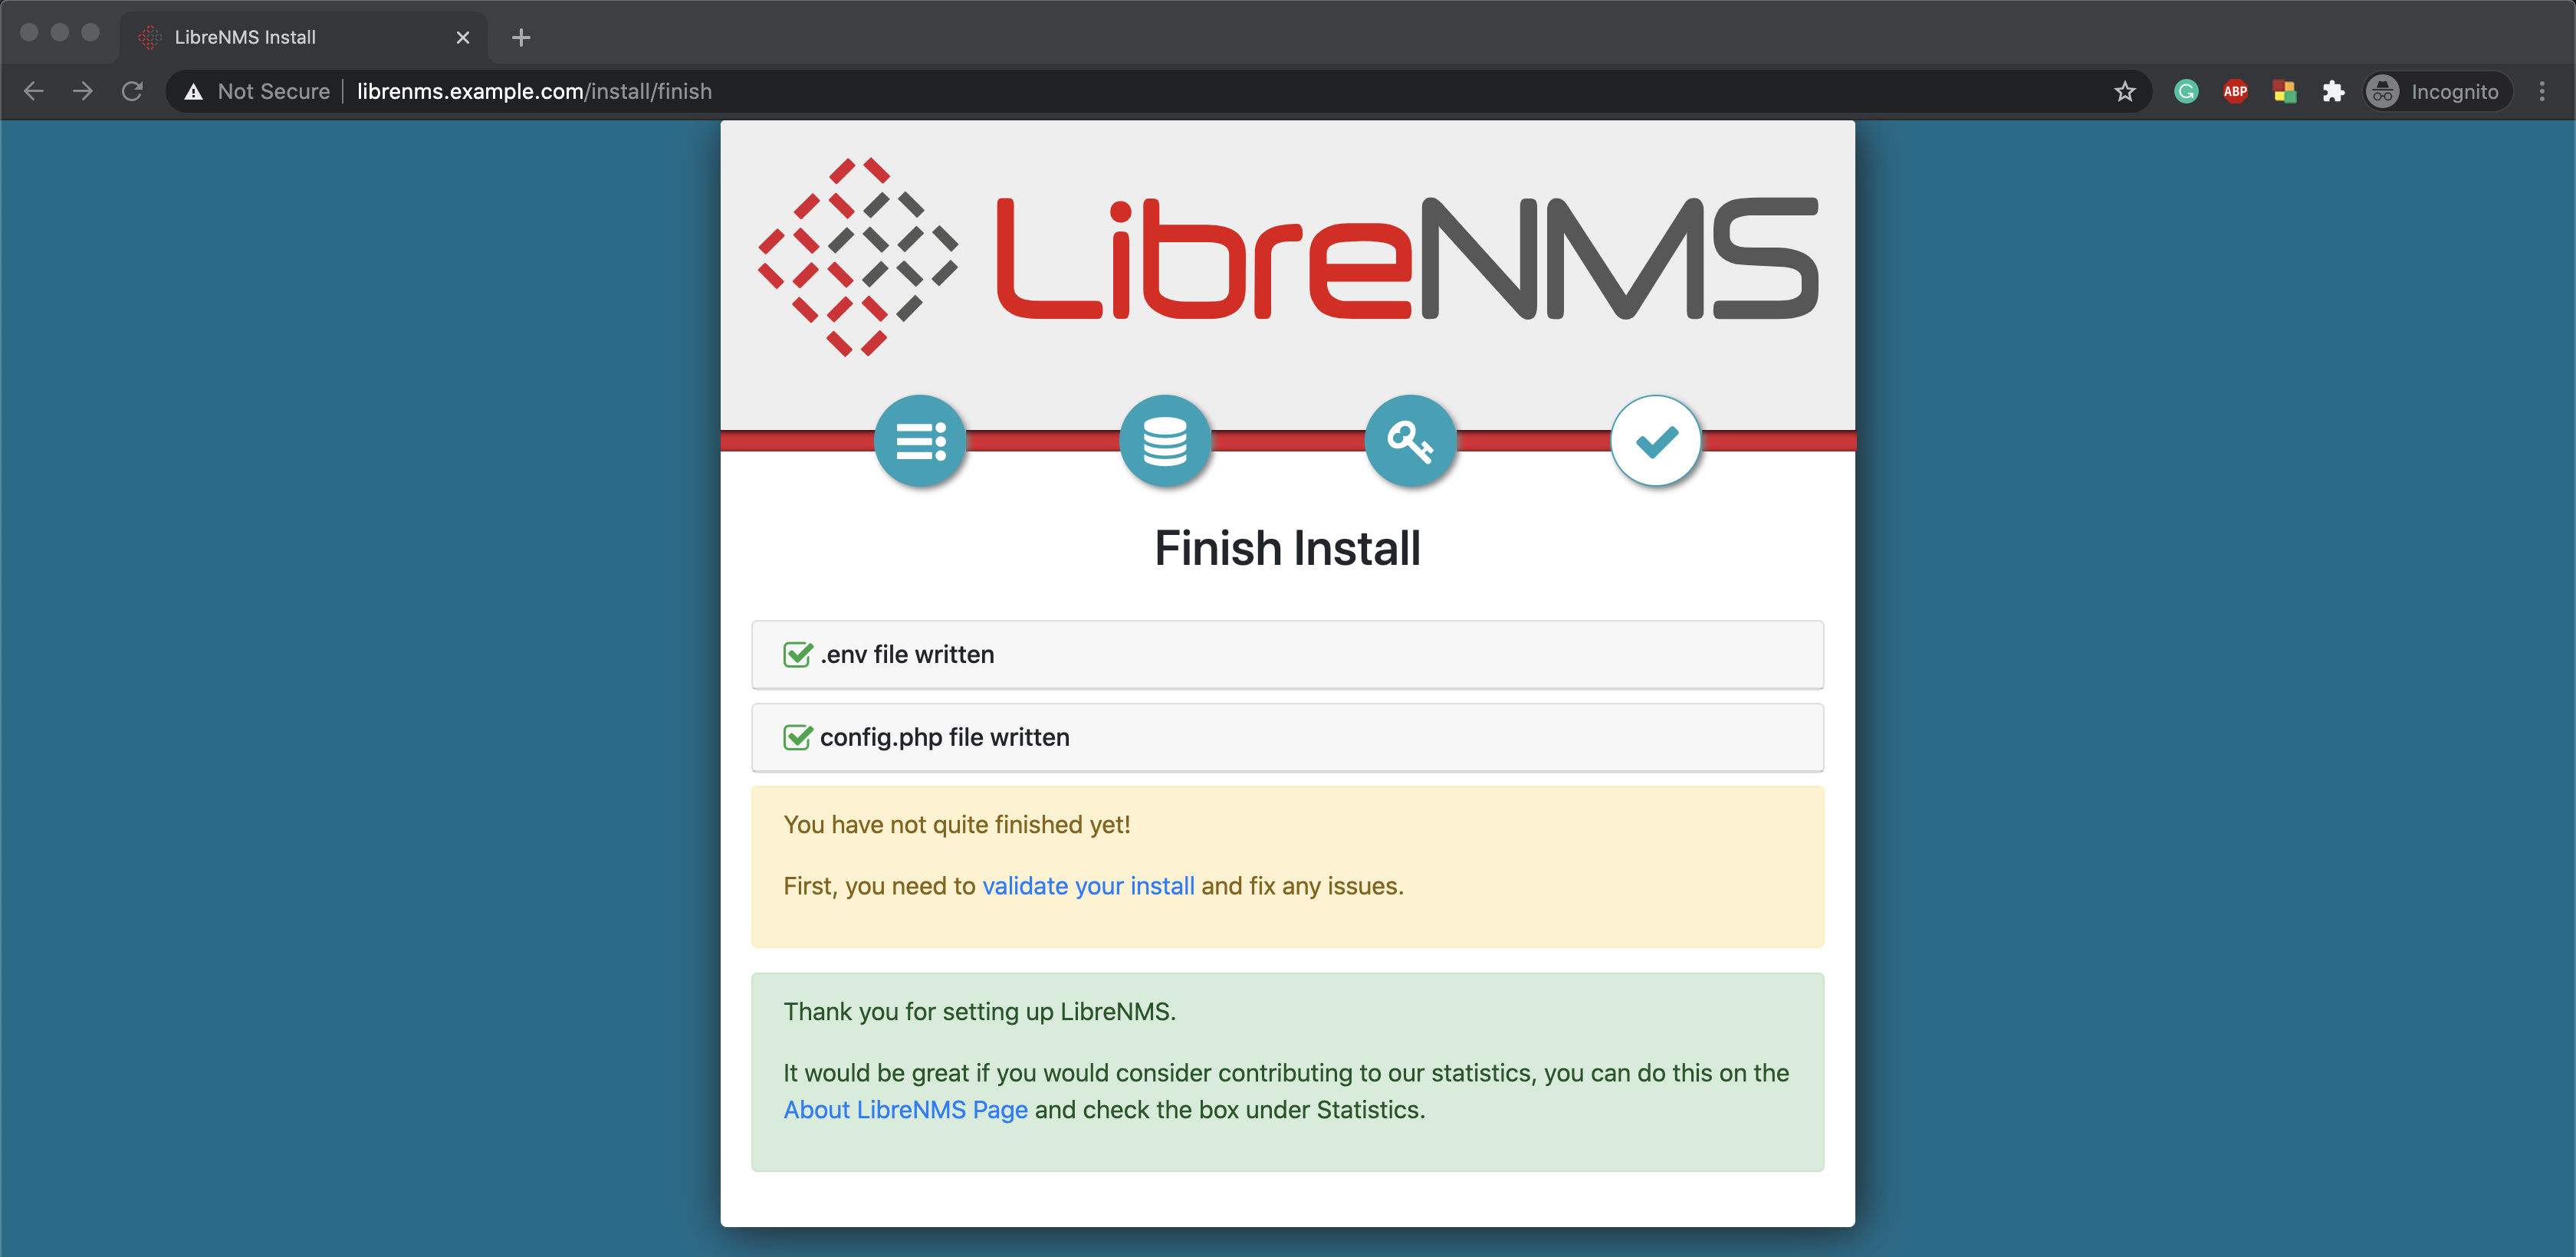
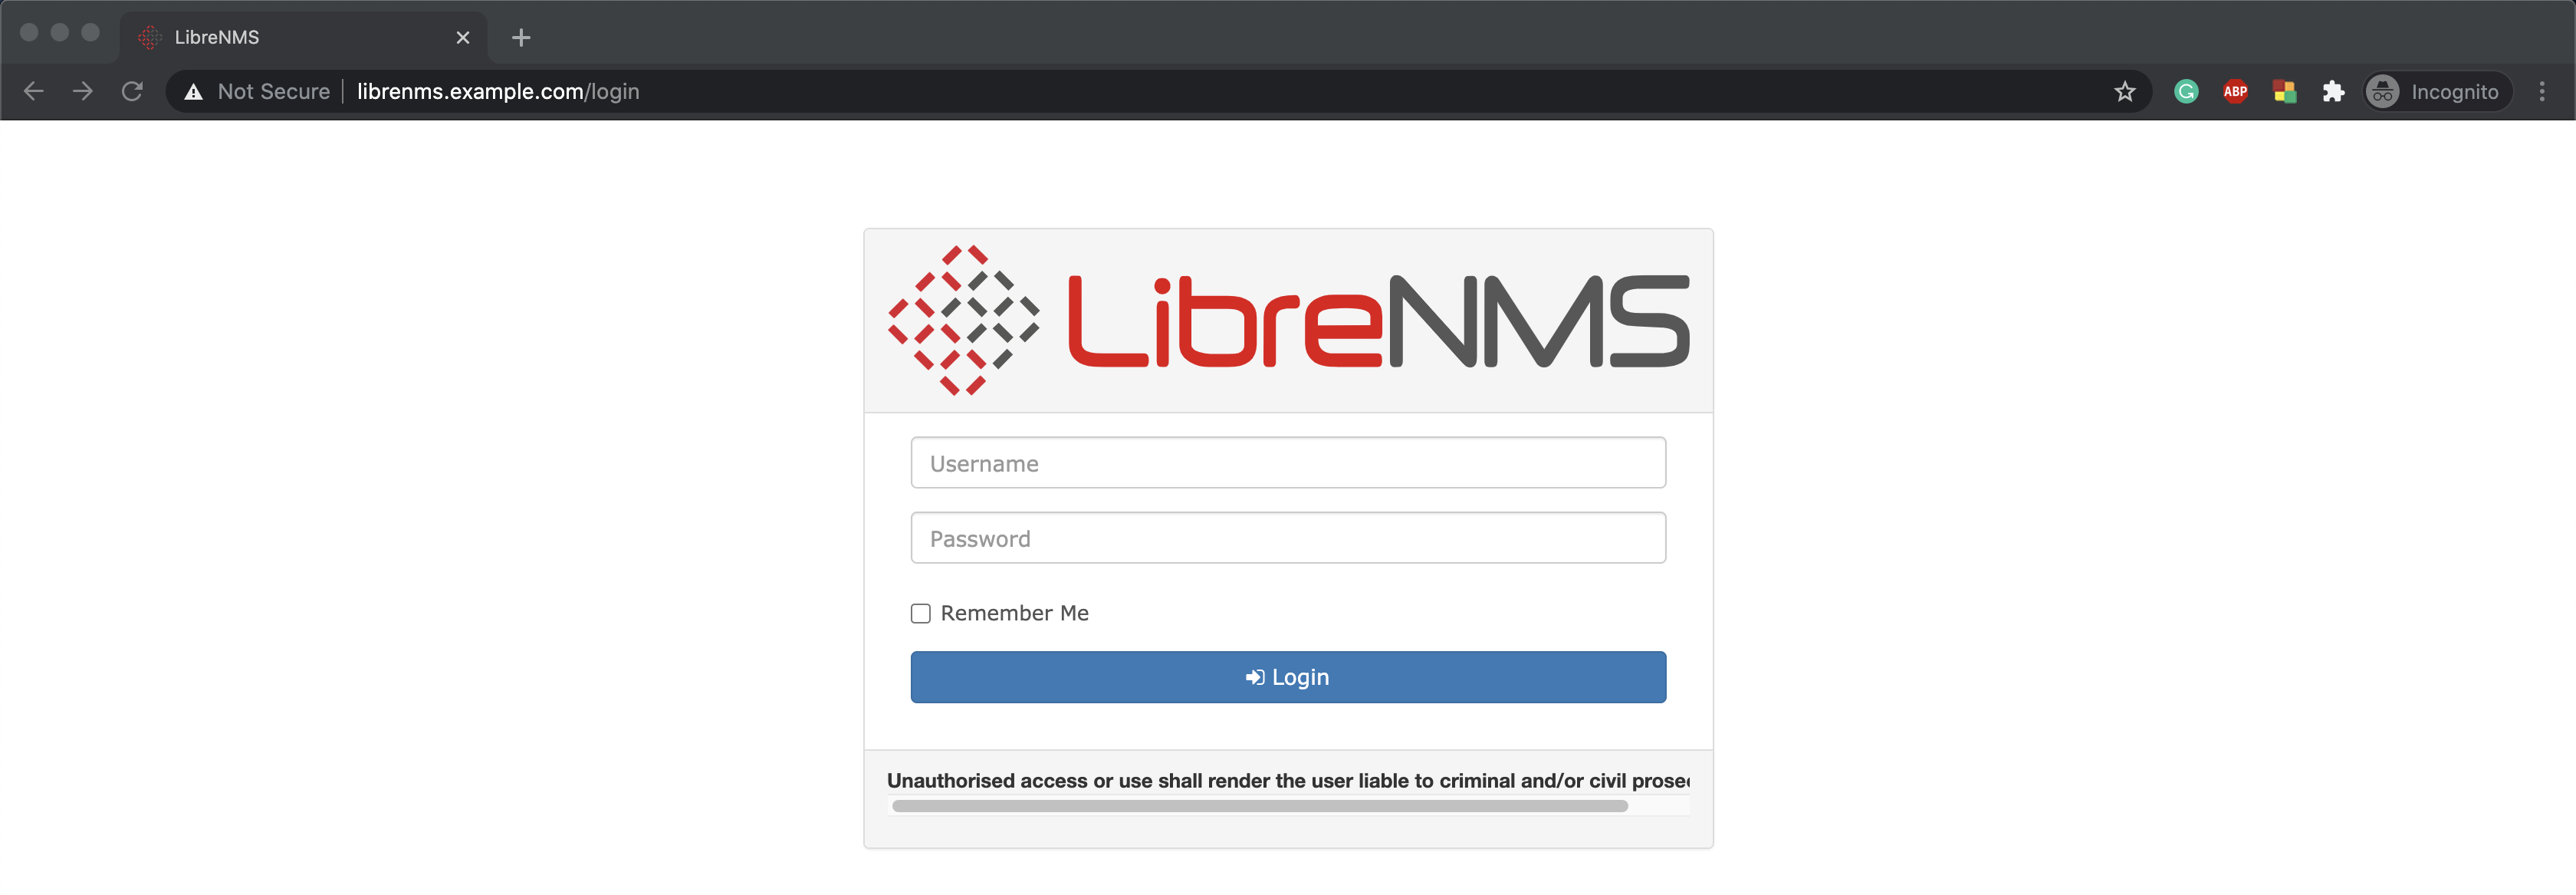
Now you can log in to the LibreNMS and it will automatically navigate you to the configuration validation page.
If any failures on the config validation page, do the fixes as they are given. In this case, I have fixed the following permission issue by following commands.
sudo chown -R librenms:librenms /opt/librenms
sudo setfacl -d -m g::rwx /opt/librenms/rrd /opt/librenms/logs /opt/librenms/bootstrap/cache/ /opt/librenms/storage/
sudo chmod -R ug=rwX /opt/librenms/rrd /opt/librenms/logs /opt/librenms/bootstrap/cache/ /opt/librenms/storage/

Finally, you can add your SNMP-enabled devices in the Devices section.
