
.NET Framework is very useful for most windows applications to work correctly. So in the server operating systems, “Add Roles and Features Wizard” in the server manager allow the installation of two different versions of .NET Framework (3.5 and 4.5).
In this post, I’m going to show how to install .NET Framework 3.5 on Windows Server 2012 R2. So that you can easily use server manager to enable .NET Framework 3.5 in your local server or remote server.
Requirements to install .NET Framework 3.5
- Windows Server 2012 R2 installation media.
- Administrator user rights (The current user must be a member of the local Administrators group).
- If using remote installation, require network connectivity with the target server.
Here are the steps to do it by using the Add Roles and Features Wizard.
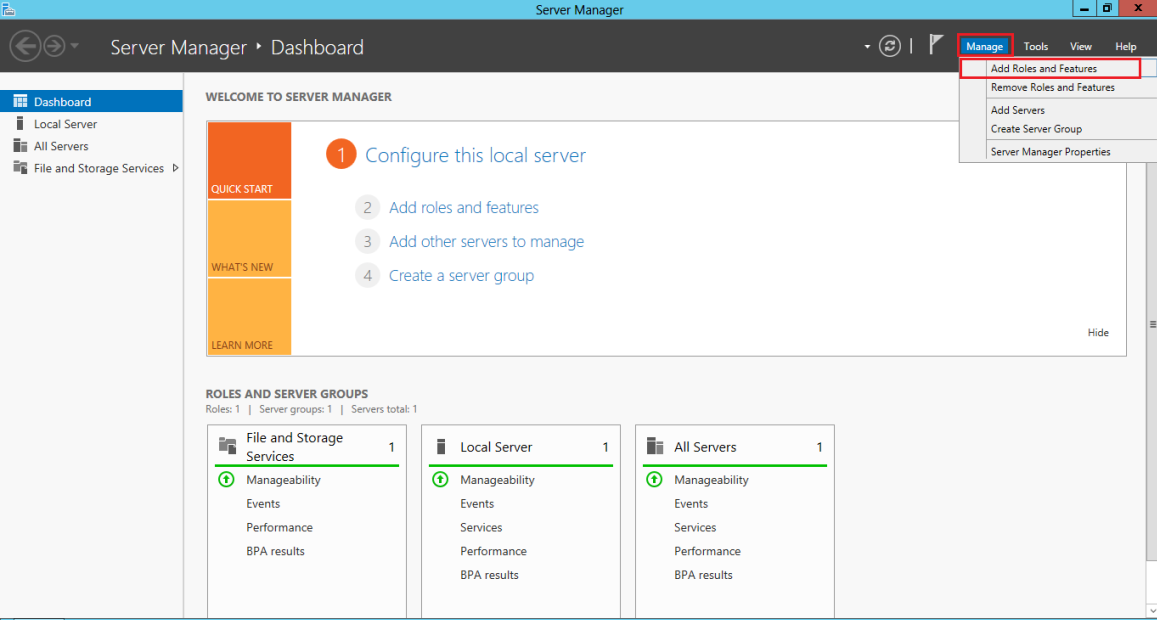
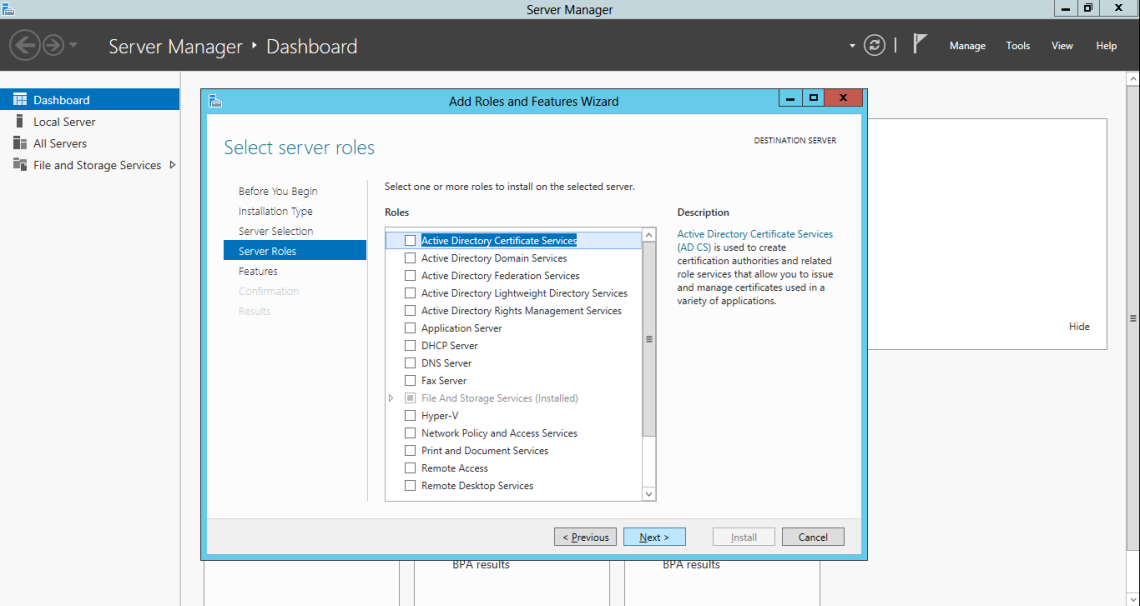
- In Server Manager, click Manage and then select Add Roles and Features to start the Add Roles and Features Wizard.

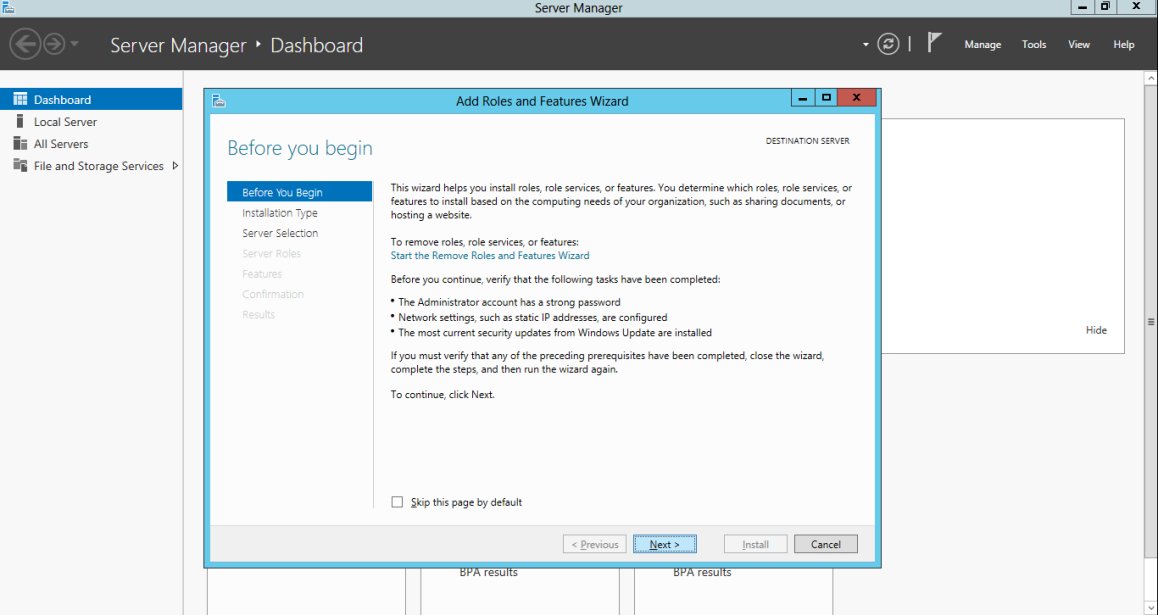
- Click Next.
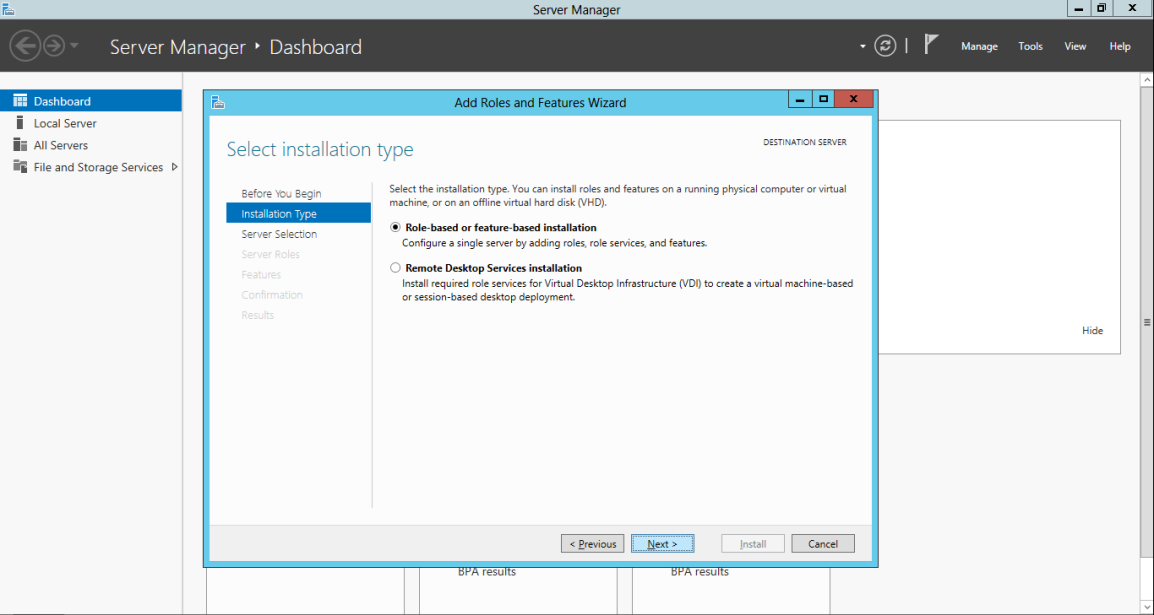
- On the Select installation type screen, select Role-based or feature-based installation.
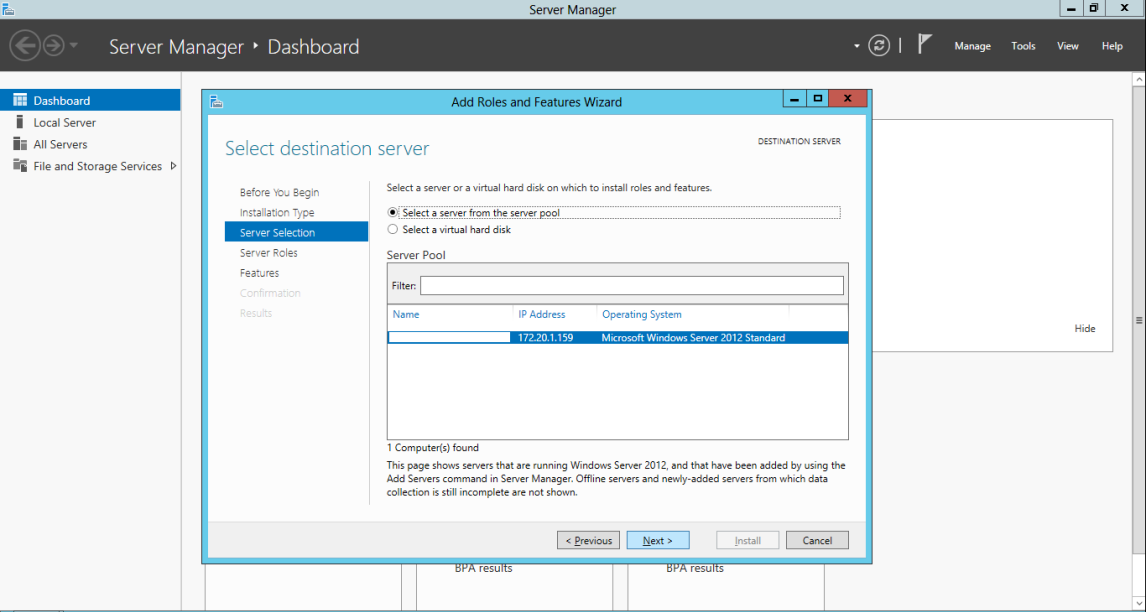
- Select the target server.
- Click Next.
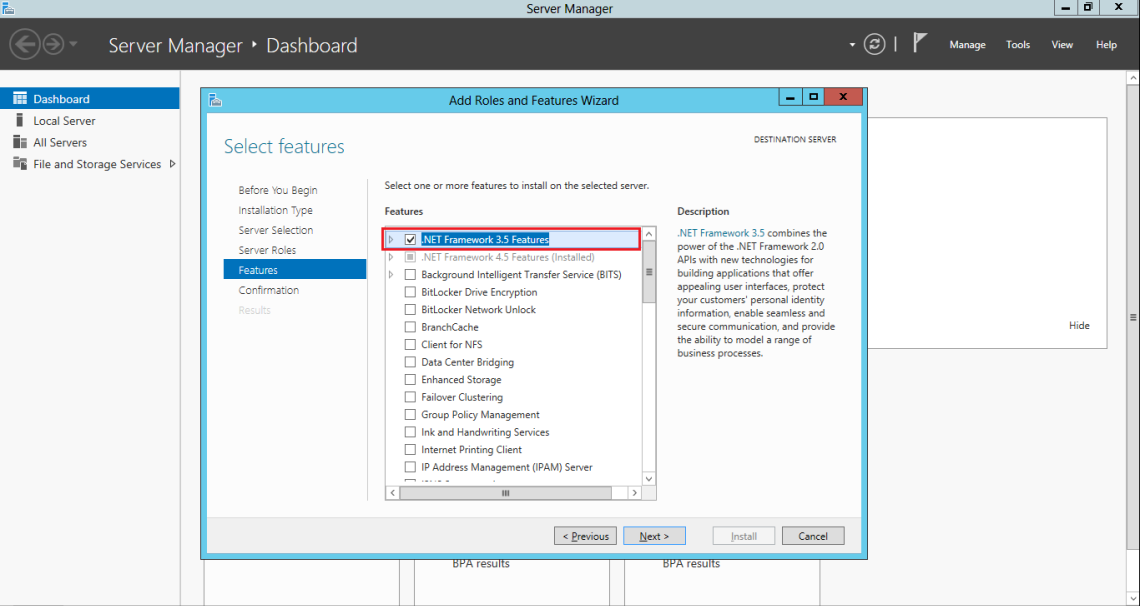
- On the Select features screen, check the box next to .Net Framework 3.5 Features.
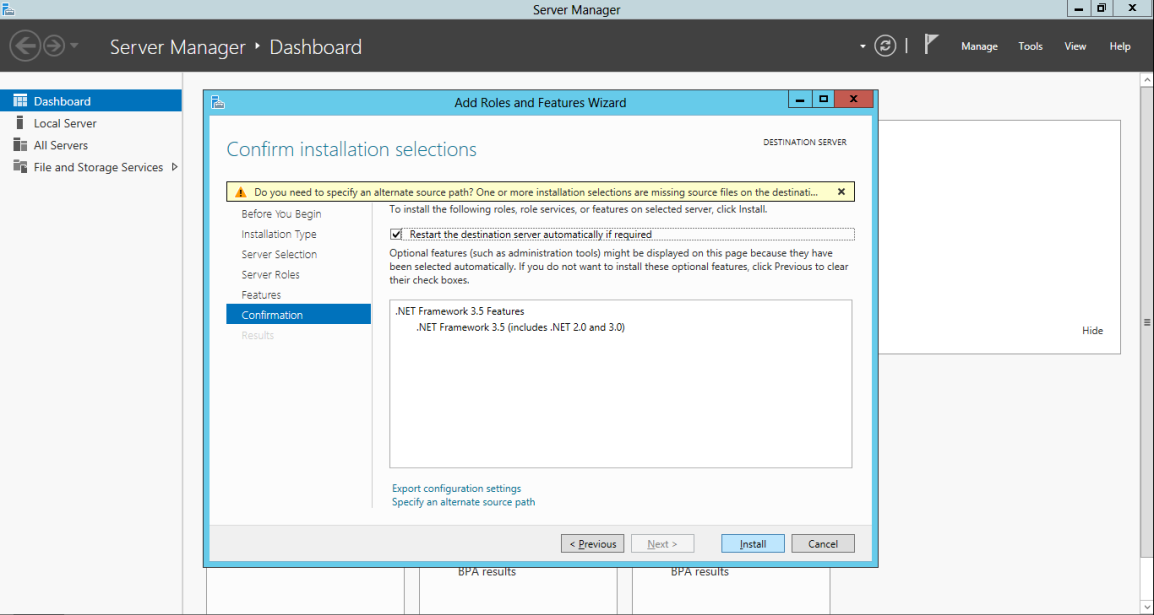
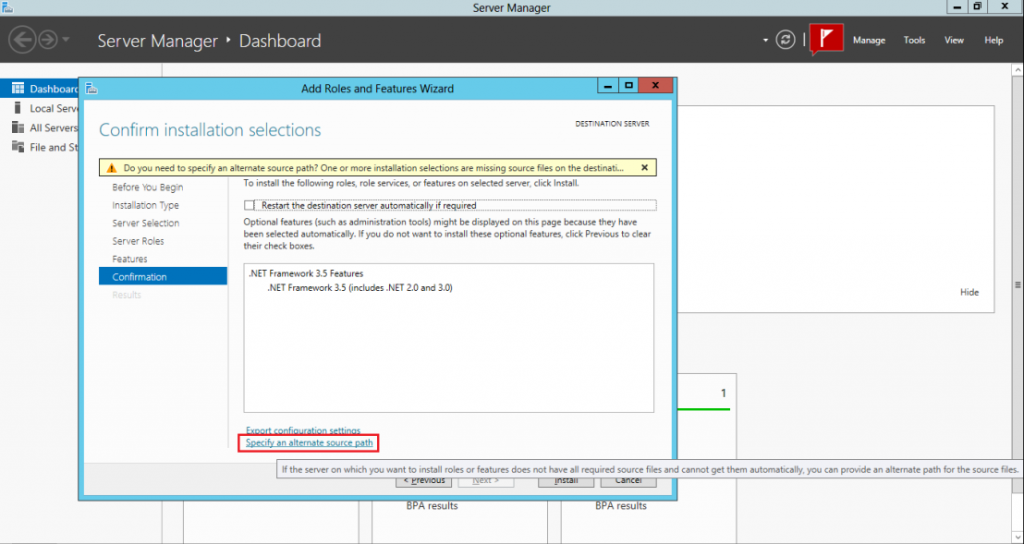
- On the Confirm installation selections screen, just click Install.
Troubleshooting
Sometimes, when you try to install .NET Framework 3.5 according to the above steps, the following error message may appear: “Installation of one of more roles, role services or features failed. The source files could not be found…”
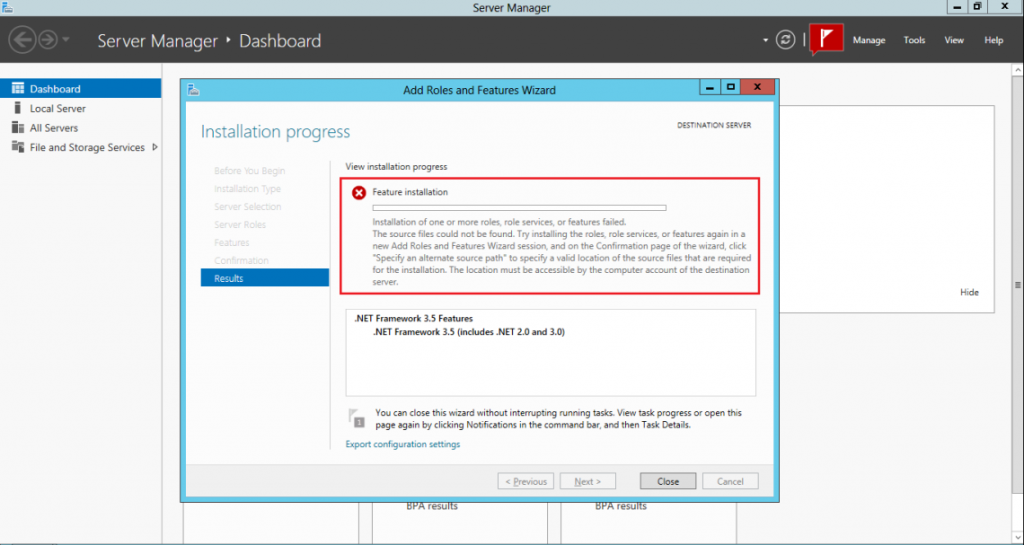
The reason for that error message is that .NET Framework 3.5 binary files are not saved to the server when the operating system is being installed. That is to reduce the amount of disk space acquired by the OS. That concept is called “Features on Demand” in Windows Server 2012.
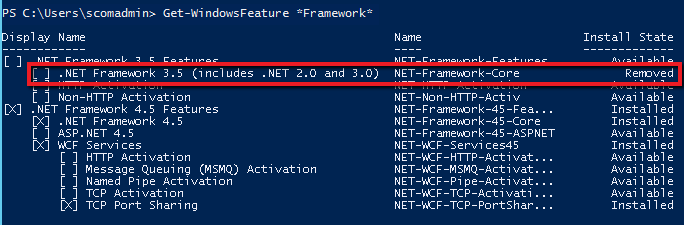
You can check binary files are in the OS by using the following command on power-shell.
Before installing .NET Framework 3.5 manually, you have to insert the installation media (Windows Server 2012 OS disk). So then go through the above steps and click the “Specify an alternative source path” link in the following window.
Then specify the path to the \sources\sxs folder on the installation media and then click OK. (in this example it is D:\source\sxs, where D:\ is a letter of the local DVD drive with a Windows Server 2012 distribution)
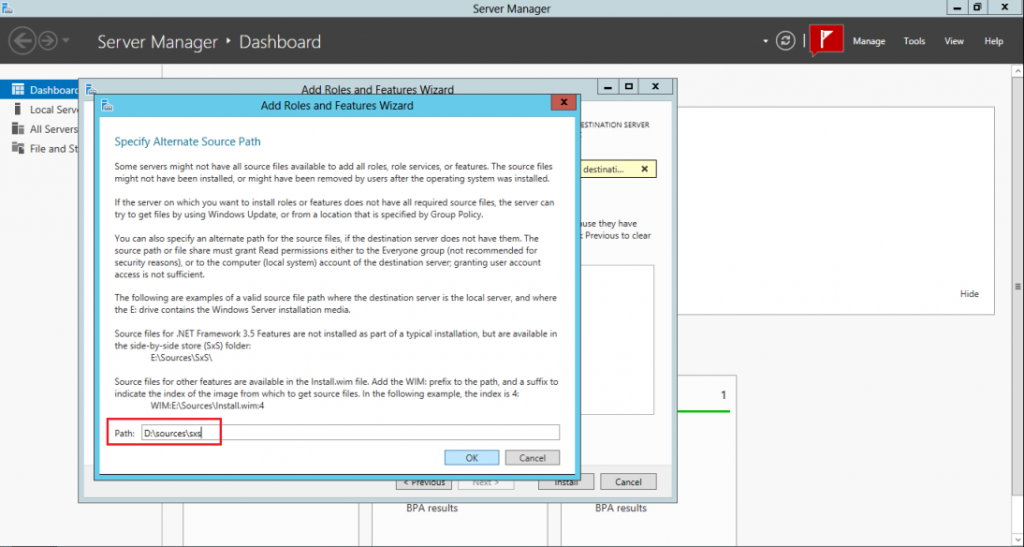
Finally, click Install to finish the installation process.
Install using Command Prompt
The above-mentioned same process can be performed by running one single command in the command prompt.
dism /online /enable-feature /featurename:NetFX3 /all /Source:D:\sources\sxs /LimitAccess
- /Online means that you need to upgrade your current OS, and not the image
- /enable-feature/featurename: NetFX3/all means that it is necessary to install .NET Framework 3.5 with all its features
- /Source is the path to the directory with Windows distribution, which contains the necessary components
- /LimitAccess prevents accessing Windows Update

Install using PowerShell
The same thing in Powershell looks like this:
Add-WindowsFeature NET-Framework-Core -Source D:\sources\sxs